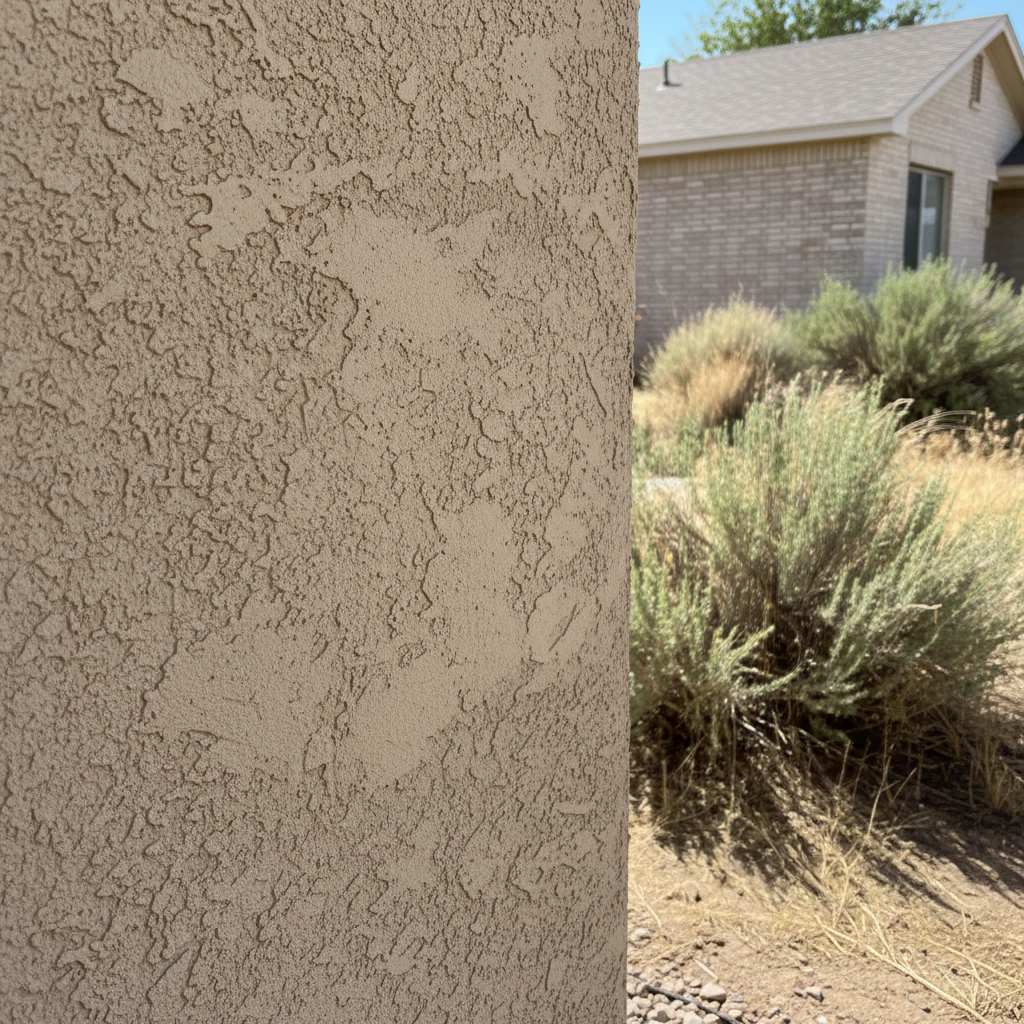
Stucco's tough stuff, I'll give it that. But even the best stucco job can take a hit over time. Maybe a kid's ball left a ding, or you've got one of those hairline cracks that just showed up out of nowhere. Homeowners often ask me, "Can I fix this myself?" The short answer is: sometimes, yeah. But you gotta know your limits. This isn't about being cheap; it's about being smart and protecting your biggest investment, right?
Before You Even Think About Repairing
First things first, figure out what kind of damage you're actually dealing with. Not all cracks are created equal, you know. A tiny spiderweb crack might be purely cosmetic, just a surface thing. But a wider crack, especially one that runs horizontally or diagonally, could be a sign of something much bigger going on behind the scenes, like foundation issues or water intrusion. You don't want to just patch over a problem that's going to come back worse later, believe me.
Also, check the weather. You definitely don't want to be doing stucco repair when it's freezing, or when it's going to rain for three days straight. Stucco needs to cure properly. Here in Taylorsville, our springs and falls are usually pretty mild, which is perfect for this kind of work. Summer can work too, but try to avoid the hottest part of the day if you can help it.
Gather your tools. For small DIY jobs, you'll need a trowel, a bucket for mixing, a stiff brush, safety glasses, and gloves. If you're matching texture, you might need a sponge or a hawk board — it really depends. Don't skimp on safety gear; stucco dust isn't something you want in your eyes or lungs, trust me.
What You Can Probably Fix Yourself
Okay, so you've got a small, non-structural crack – we're talking hairline stuff, maybe up to 1/8 inch wide. Or a little chip that's just on the surface. These are the kinds of things you can usually handle. Here's the basic rundown:
- Clean it up: Use a stiff brush to get rid of any loose debris, dirt, or old paint from the area. You want a clean, stable surface to work with.
- Moisten the area: Lightly mist the crack with water. This helps the new stucco bond better and keeps the existing stucco from sucking all the moisture out of your patch mix too quickly.
- Mix your patch: You can buy pre-mixed stucco patch or mix your own using stucco cement, sand, and water. Follow the instructions on the bag for consistency – you want it like thick peanut butter, not too runny, not too dry.
- Apply the patch: Using your trowel, press the stucco mix firmly into the crack or chip. Make sure it's fully filled.
- Texture match: This is where it gets tricky. If your existing stucco has a smooth finish, you can just smooth out your patch. If it's got a rougher texture, you might need to dab it with a sponge, flick it with a brush, or use your trowel to mimic the surrounding texture. Practice on a scrap piece of wood first if you're unsure – it's worth the effort.
- Cure it right: Keep the patch slightly damp for a few days by misting it with water a couple of times a day. This is crucial for strength. Don't let it dry out too fast, or it won't hold up.
For small, shallow holes, you can often use a similar method. Just make sure the hole is clean and stable before you fill it.
When to Pick Up the Phone and Call a Pro
Look, I'm all for homeowners tackling projects. It's rewarding, no doubt. But there are definitely times when DIY turns into DI-Why-Did-I-Even-Start. Here's when you should absolutely call someone like us at Taylorsville Stucco & Plastering:
- Wide cracks: Anything over 1/4 inch wide, especially if it's long or deep. These often indicate underlying issues that a simple patch won't fix.
- Cracks near windows or doors: These areas are vulnerable to water intrusion. A bad patch here could lead to rot or mold inside your walls, which is a nightmare.
- Bulging or crumbling stucco: If your stucco is soft, spongy, or falling off in chunks, you've got a serious problem, likely water damage. This isn't a cosmetic fix at all.
- Large areas of damage: If a whole section of your wall is damaged, it's a big job that requires skill and the right equipment.
- Stains: Dark streaks or stains, especially below windows or at the base of your wall, can mean water is getting in. A patch won't solve the source of that problem.
- If you're unsure: Honestly, if you're looking at it and thinking, "I have no idea what I'm doing," that's your cue. A bad repair can look worse than the original damage and even cause more problems down the line.
Especially in older Taylorsville neighborhoods with some of those original stucco homes, you might run into issues like lath damage or even asbestos in really old materials. That's definitely not a DIY situation, folks.
After the Repair: Keep an Eye On It
Whether you did it yourself or had us come out, keep an eye on the repaired area. Make sure the patch holds up. If you painted over it, check that the paint isn't bubbling or peeling. If you see new cracks forming around the old repair, that's a red flag. Regular inspections of your stucco – just a quick walk around your house a couple of times a year – can save you a lot of headaches and money in the long run.
Knowing what you can handle and when to call in the cavalry is key to keeping your home in top shape. Don't hesitate to reach out if you're ever in doubt. That's what we're here for, after all.